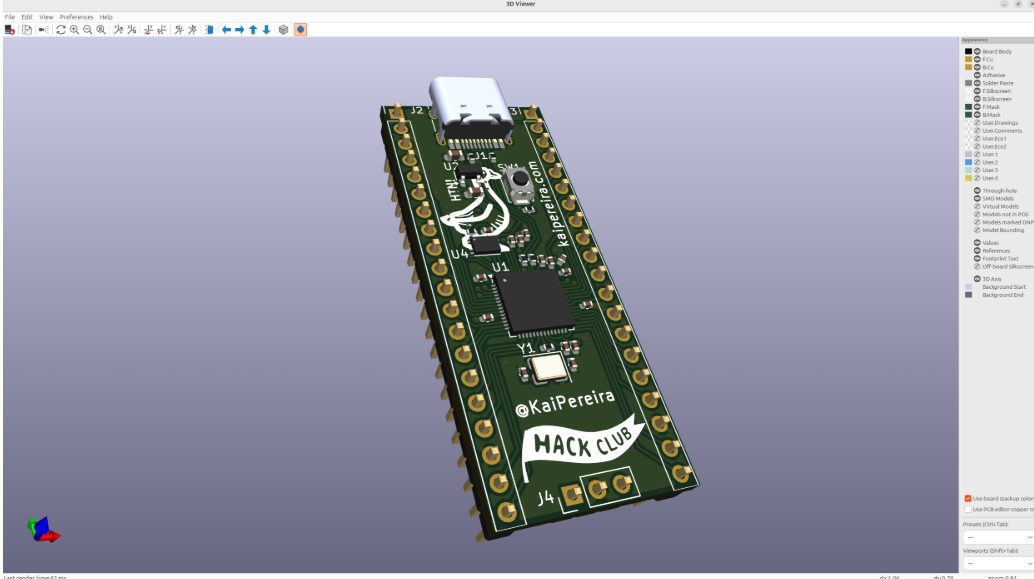
Custom RP2040 Development Board
-
0 sales
- 2 views
- Save
0 /5.0
User review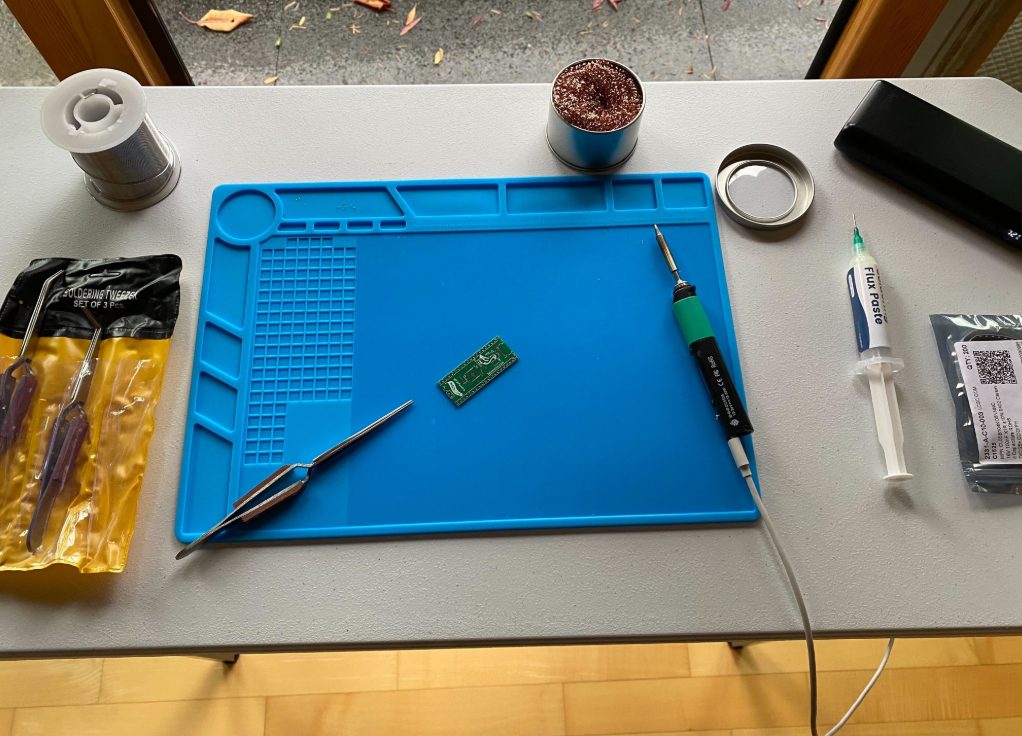
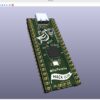
If you are ready to move past off-the-shelf boards like the Arduino Uno, this project walks you step by step through designing and assembling your own custom PCB powered by the dual-core Raspberry Pi RP2040 chip.
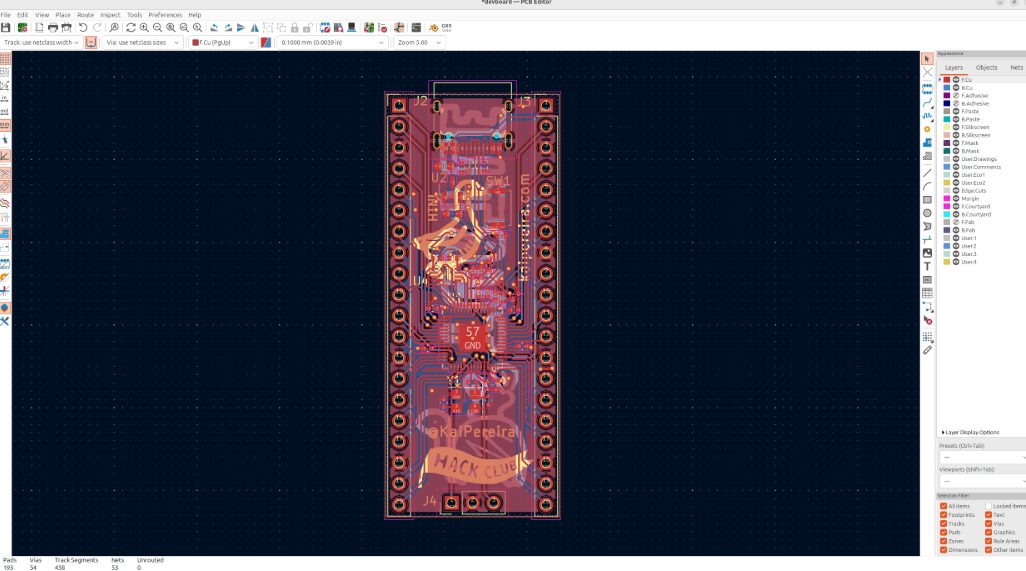
In this build, you will face real-world hardware challenges using the open-source KiCad EDA software. You will learn why microcontrollers need strictly regulated power domains (the RP2040’s 3.3V and 1.1V lines) and how to place 0.1µF decoupling capacitors as close to the pins as possible. These capacitors act as tiny power reservoirs that prevent brown-outs and maintain signal integrity during high-frequency switching.
The project goes beyond just dropping components onto a digital canvas. You will learn the “outside-in” routing strategy and high-speed design considerations. For example, the USB 2.0 protocol runs at 480 Mbps, so you will route copper traces as length-matched differential pairs with 90 ohms of differential impedance. Doing this correctly prevents signal reflection and data loss.
You also don’t need an industrial reflow oven to complete this board. The tutorial includes practical guidance on hand-soldering microscopic 0402 surface-mount components and the QFN-56 chip using standard flux and thermal bridging techniques. This project is an excellent portfolio piece to showcase your hardware design skills.
Fequently asked questions
Do I need an expensive reflow oven to assemble this board?
Not at all. The project teaches you how to hand-solder tiny 0402 surface-mount components and the QFN-56 chip using a standard soldering iron, proper flux, and thermal bridging.
Why do I need so many capacitors just for power?
Microcontrollers switch at very high frequencies, which causes tiny, rapid drops in voltage. Placing decoupling capacitors close to the power pins provides a local charge reservoir that keeps the board stable and prevents random resets.